Master Bath
Our Master Bath was a phased approach.
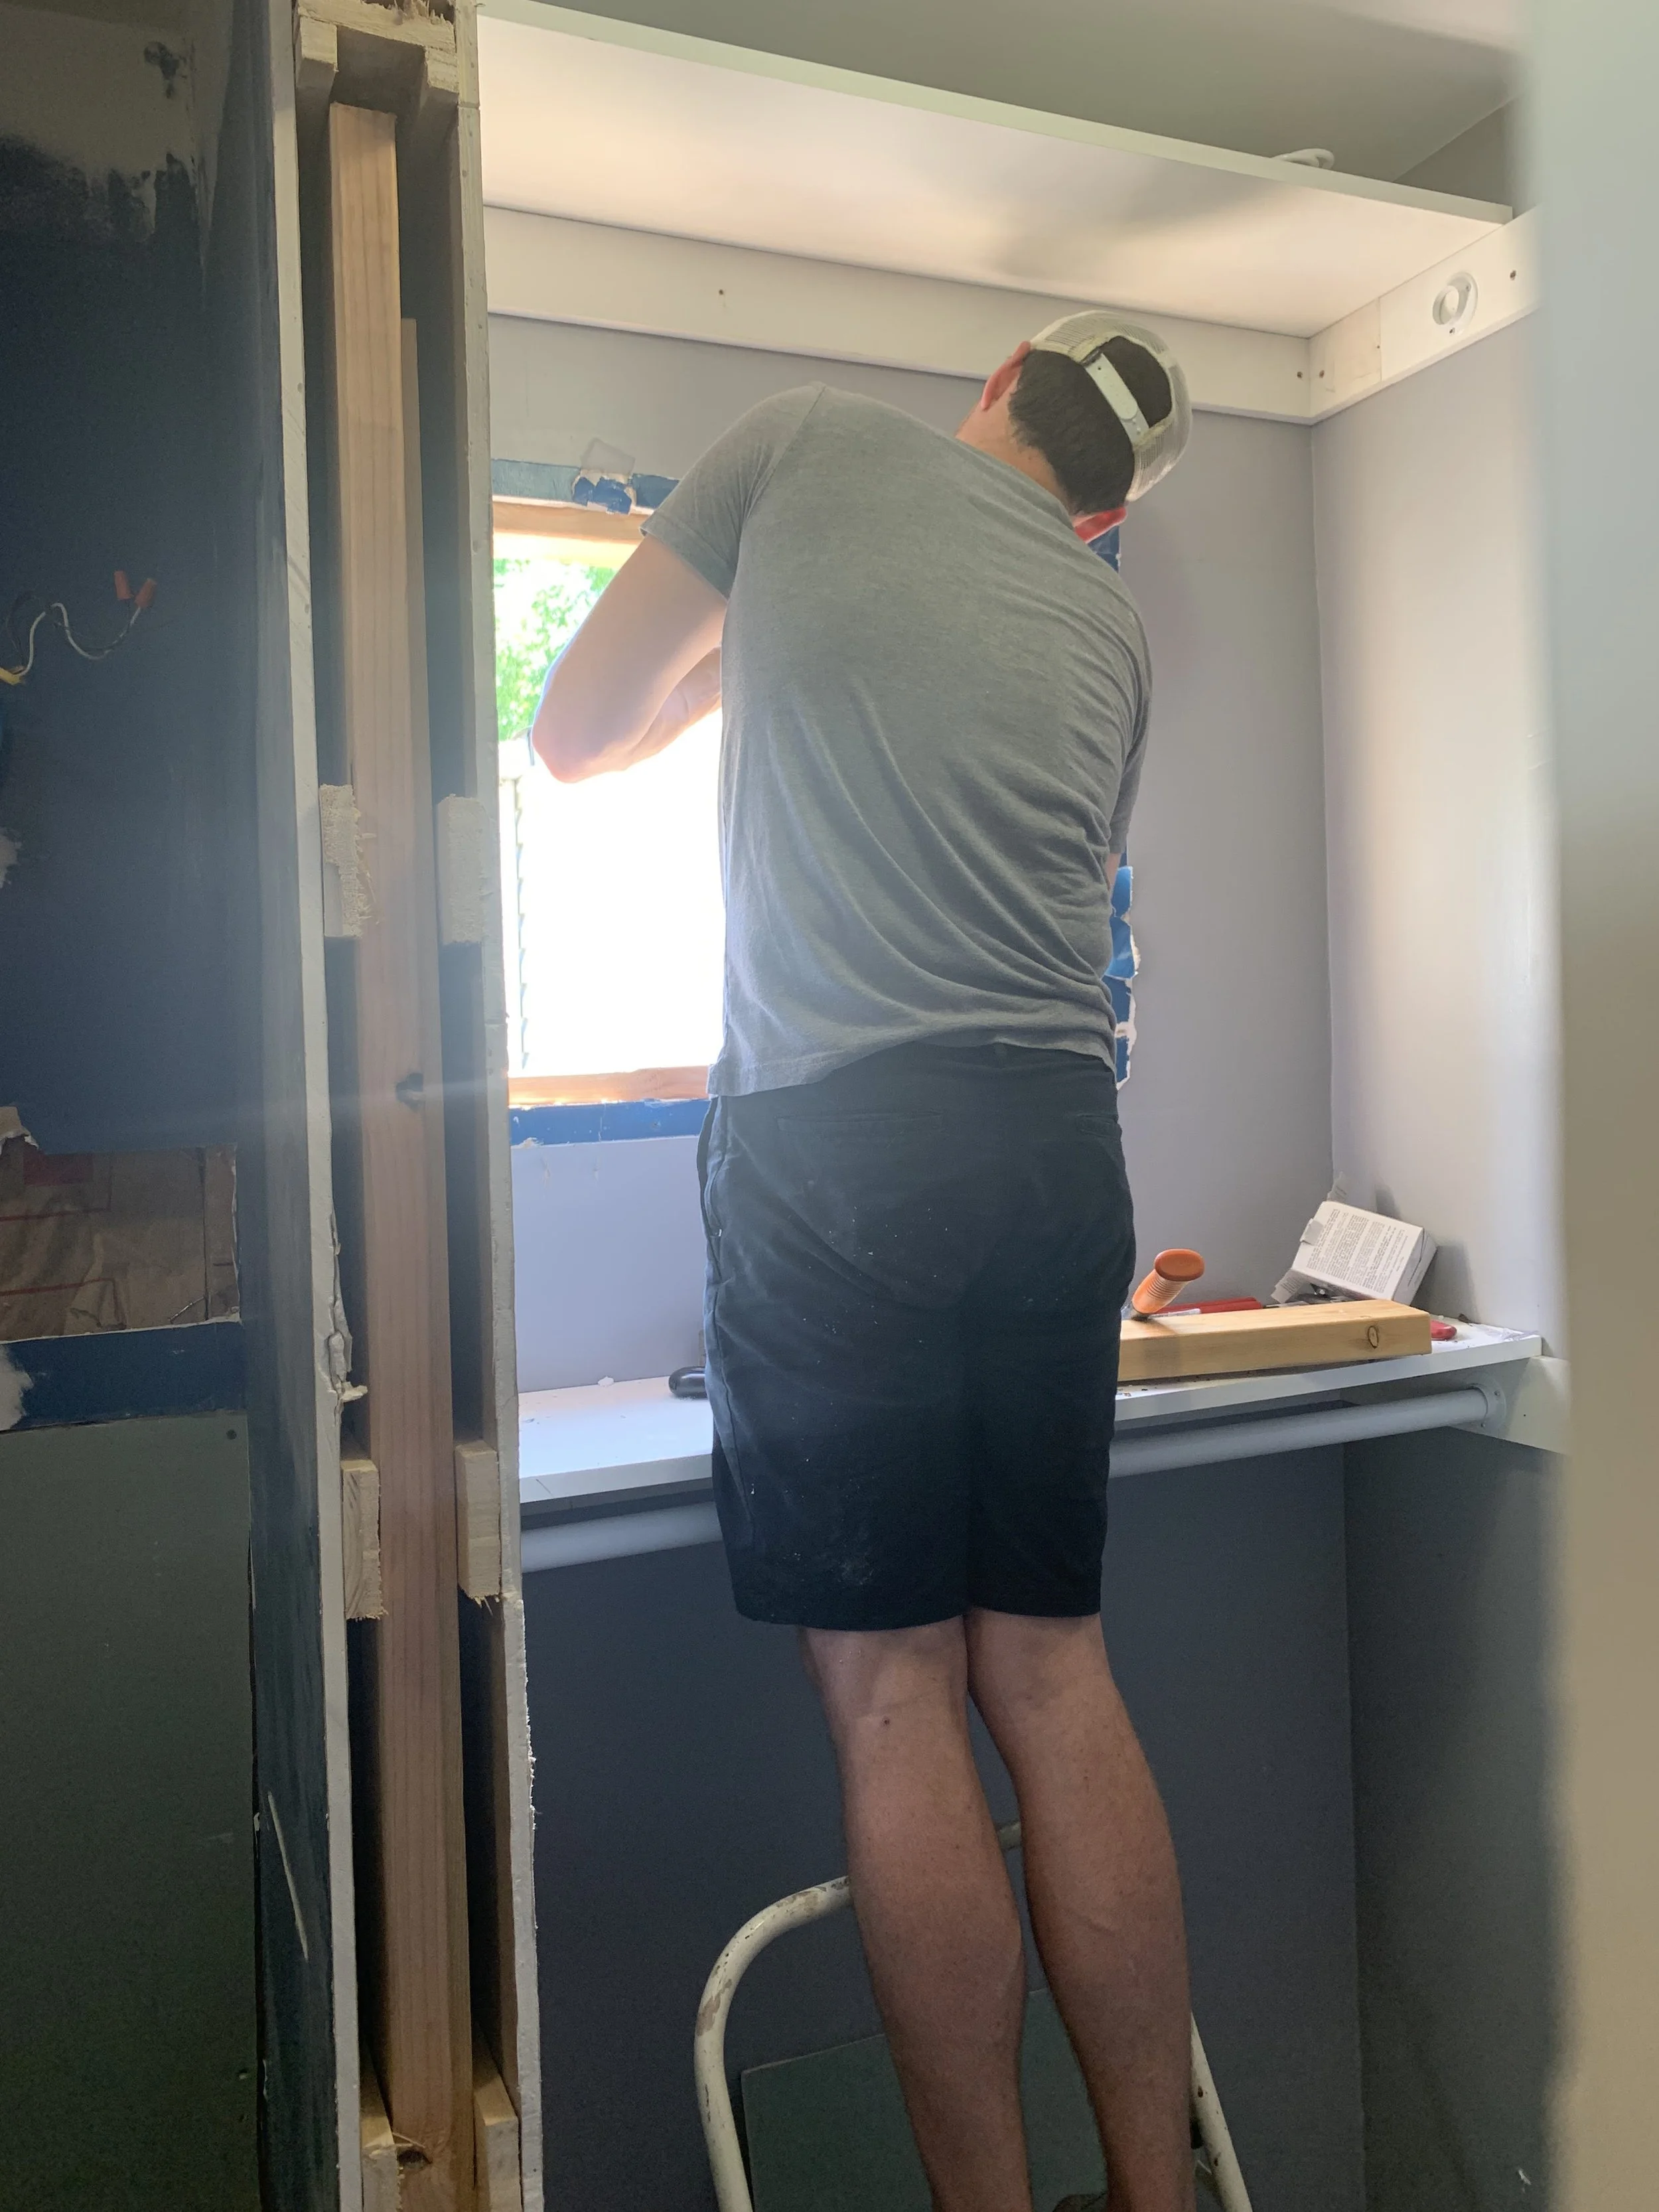
Phase 1 - update the closet to be more efficient for our needs. This happened after we took possession. We removed the Ikea shelving that didn’t span the entire closet and added in two rods and two shelves. Simple but already better for our needs
Phase 2 - Make it pretty. I wanted a bathroom where i felt relaxed and welcome. The current bathroom tile made my feet itch (metaphorically) and the glossy bold walls were too much. While still maintaining a ‘budget friendly’ make over I was determined to put on my designer hat and make something that felt a bit spa like.
I did MUCH of this bathroom remodel myself. From demo to light switch organization. My dad and Jeff came to the rescue and helped with the install. Don’t let anyone fool you - this process took us MONTHS. I started demo after just hardly finishing the main bath - our master bedroom became so dusty we slept in the living room for longer than I would like to admit. I was afraid at one point we might have a mold problem but my trusty uncle checked it out and said not to worry. The shower tile was the most daunting I wanted to do vertical stacked but with existing dimensions and tile size it wasn’t going to look good - would have ended up with tiny slivers of tiles in the corners. BTW stacked takes more time then running bond. We ran into a plumbing snafu and had to remove some tiling we already did after we found a LARGE icicle at the exterior of the house. Turns out the pex for the shower head had a leak. Thank goodness for winter and finding this BEFORE the shower install was complete.
All in all so happy with how it turn out and the skills I gained and learned.
*I will eventually get finished photos uploaded :)